Hrm...worked no problem for me...interesting...here's a quick picture tutorial i whipped up this morning
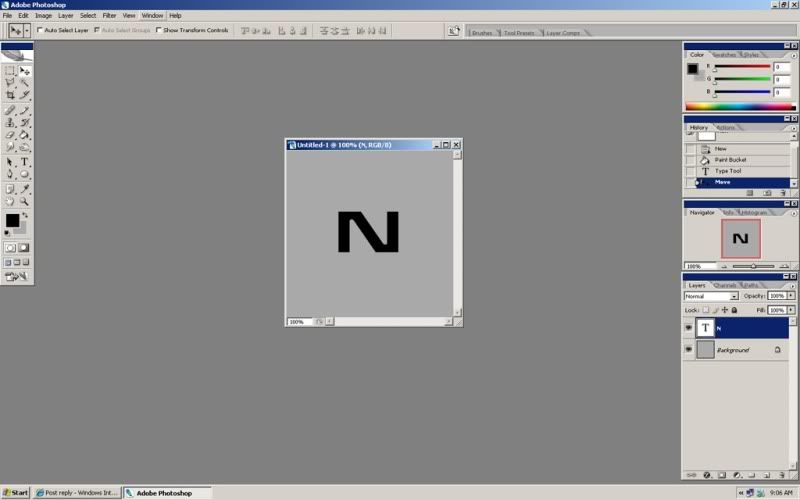
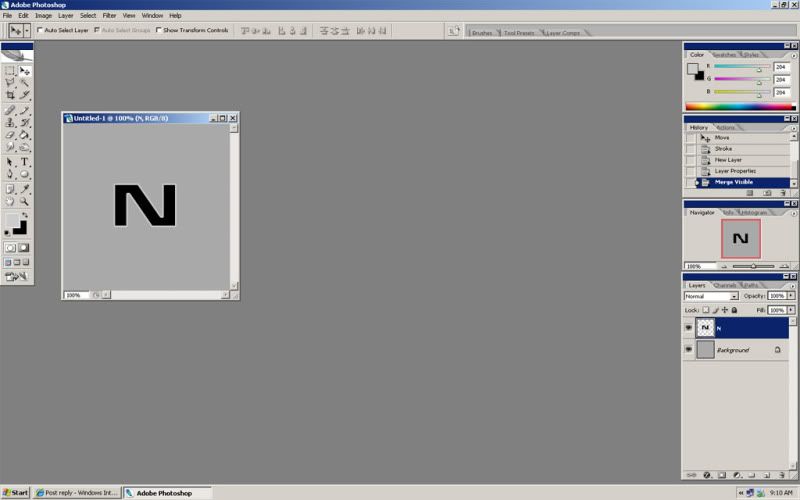
step 1... create your layer and put your text on it
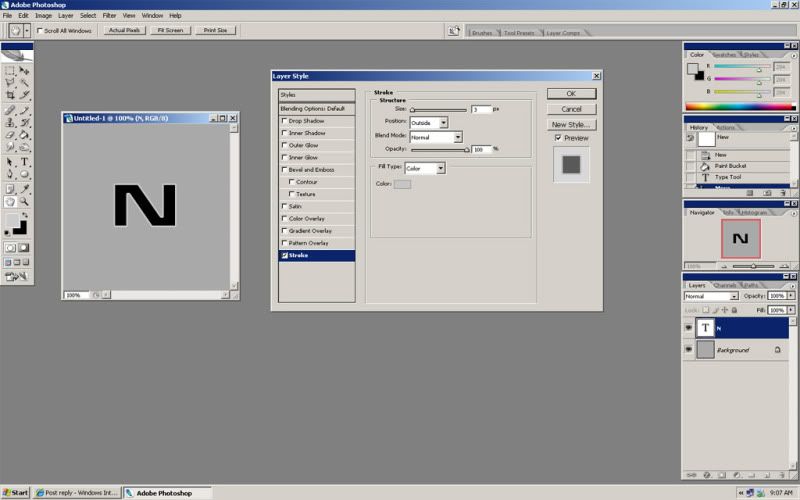
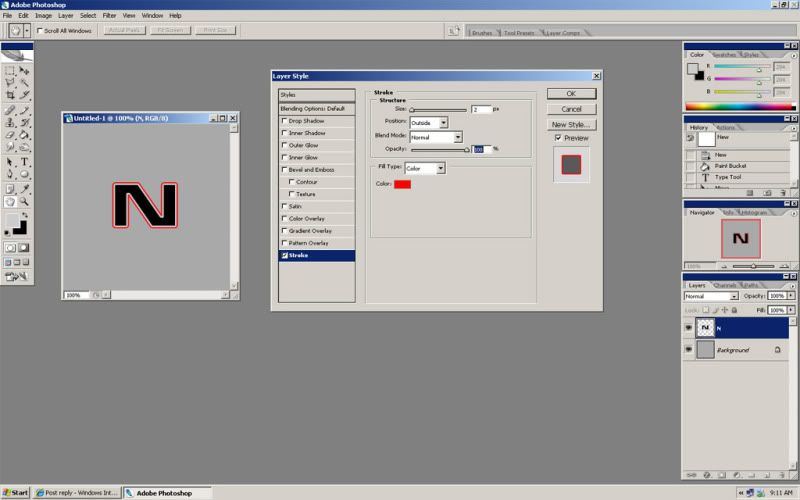
step 2....double click your text in the layers tab and click the check box that says stroke. Set the color you want your first stroke to be..in this case i picked a light gray to contrast the color of the hull and set the pixel size. I left it the default 3 pixels
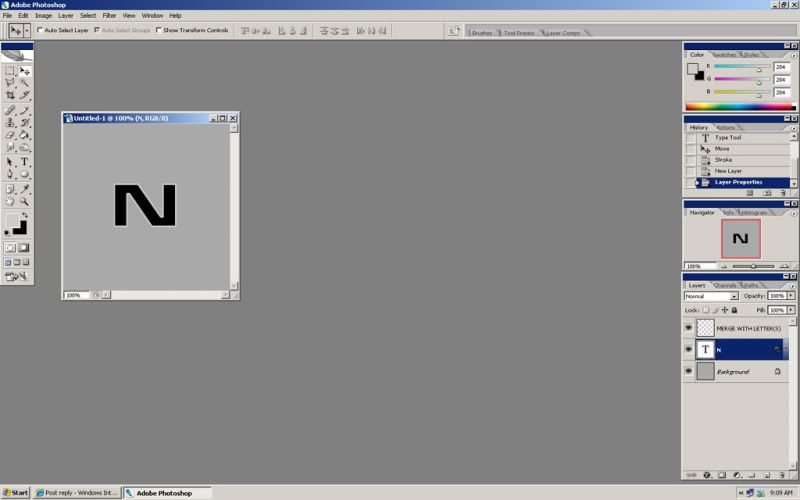
step 3.... create a new layer and just leave it there..you'll see why in a min...
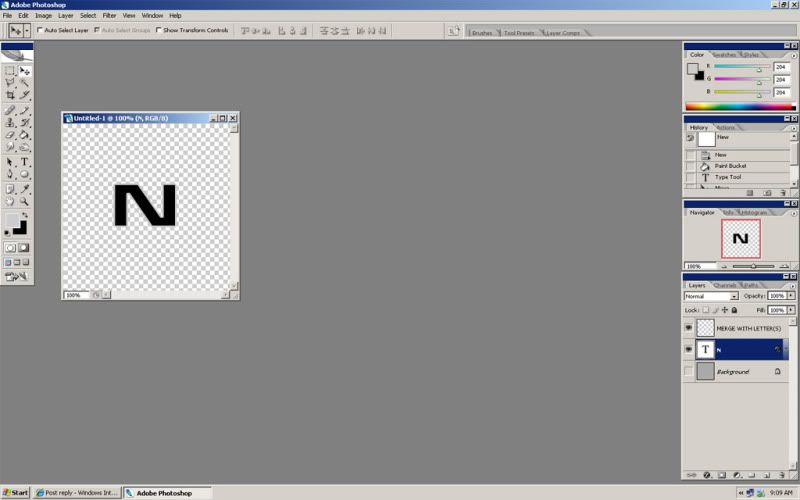
step 4....deselect your background so you can't see it. This is done because you don't want to merge your text and second layer with the background.
step 5...with your background deselected....go to layers and click 'merge visible' this will merge your text and that new layer you created and automatically rasterize it. make sure you have sized your text the way you want before you stroke and merge it because you won't be able to change it afterwards.
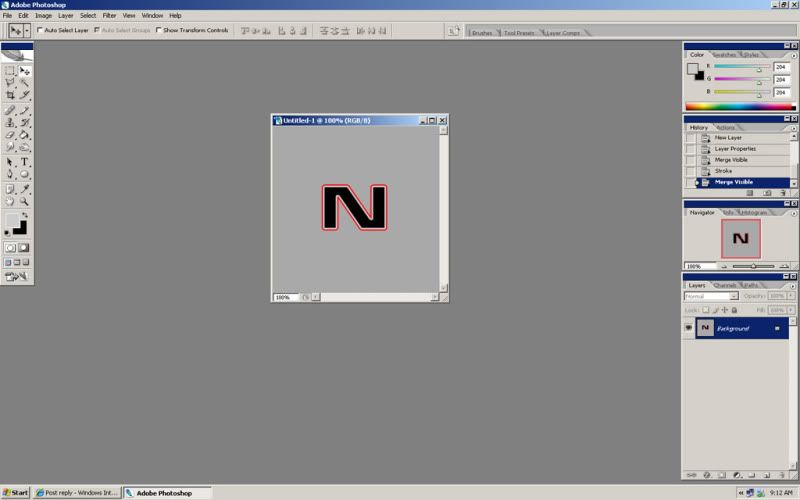
step 6...double click your merged layer that has your letter and light outline around it...and click the check box for stroke. As you did in step 2 select the color for your stroke and the number of pixels you want the stroke to be. I chose 2 as thats the best i think for TMP/TNG registries as you don't want it too thick that it overwhelms the ships hull but not too thin that you can't see the darned thing LOL
DONE!!! And thats it!!!!!!!!!!! You have successfully added the patented red outline to your starfleet ships registry. At this point you can merge it or do whatever you want....if the hull texture is ready or leave the registry as a separate layer so that if you want to make changes to the hull texture you can without messing up or having to redo the registry.
 Topic: Re: Ship Registry Tutorial (Read 527 times)